Customer management
TimePunch provides the ability to assign time entries to different customers. This allows a customized accounting of hours worked.
Therefor it`s necessary to store the customer data in TimePunch. The customer data is maintained via the menu “Master data / customer".

Import and export customer data
Within the master data the customer can be imported and exported by using the menu called “File”.
This happens mainly by importing and exporting CSV files. For the import it will be supposed that the first row contains the column title. The title defines the content of the column. The column order and completeness is not important as long the both mandatory fields “Ref. Nr.” and “Customer” are filled.
Hint: The easiest way to create an import template is to export a set of test data using "file / customers export" and save as CSV file.
Manually create and edit customer data
Within the master data the customer data can be created with “New” and amended with the “Edit” button.
Both will open the following dialog where the customer data can be entered manually.
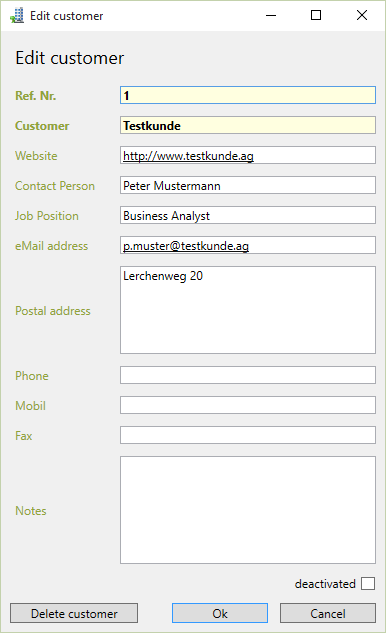
The mandatory fields “Ref. Nr.” and “Customer” must be filled at least in order to store the customer.
Assign time entries to a customer
There are various ways to assign time entries to a customer.
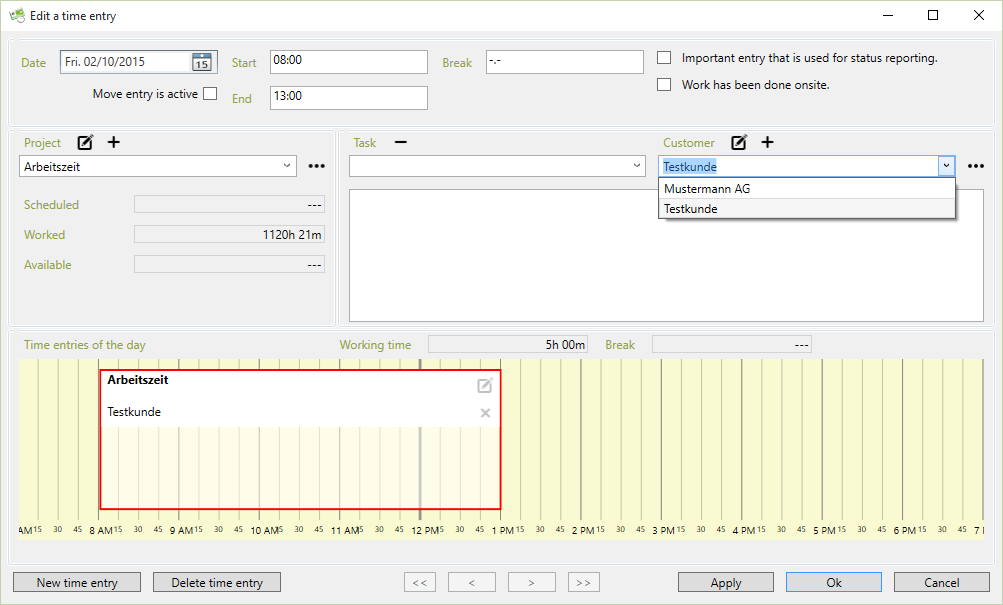
Assign a customer when editing a time entry
Within the edit dialog of a time entry, a customer can be assigned to the time entry.
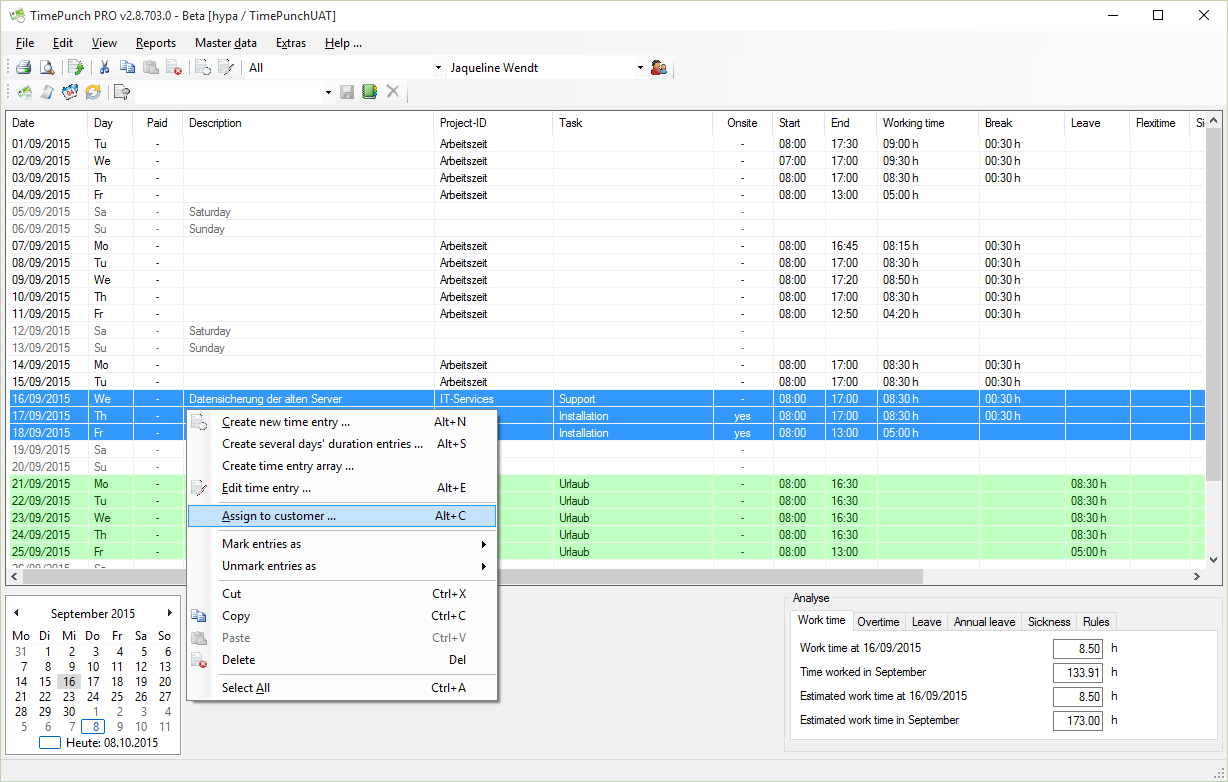
Assign a customer to multiple time entries
To assign a customer to multiple entries, those entries must be marked in TimePunch. Then the customer can be assigned by choosing “Assign to customer” in the context menu.

Directly assign a customer to a project
In addition to the possible assignment of a customer after recording the time entry, a customer can also be assigned to a project directly in forehand.
This can be handled in the dialog to edit project (see project management)
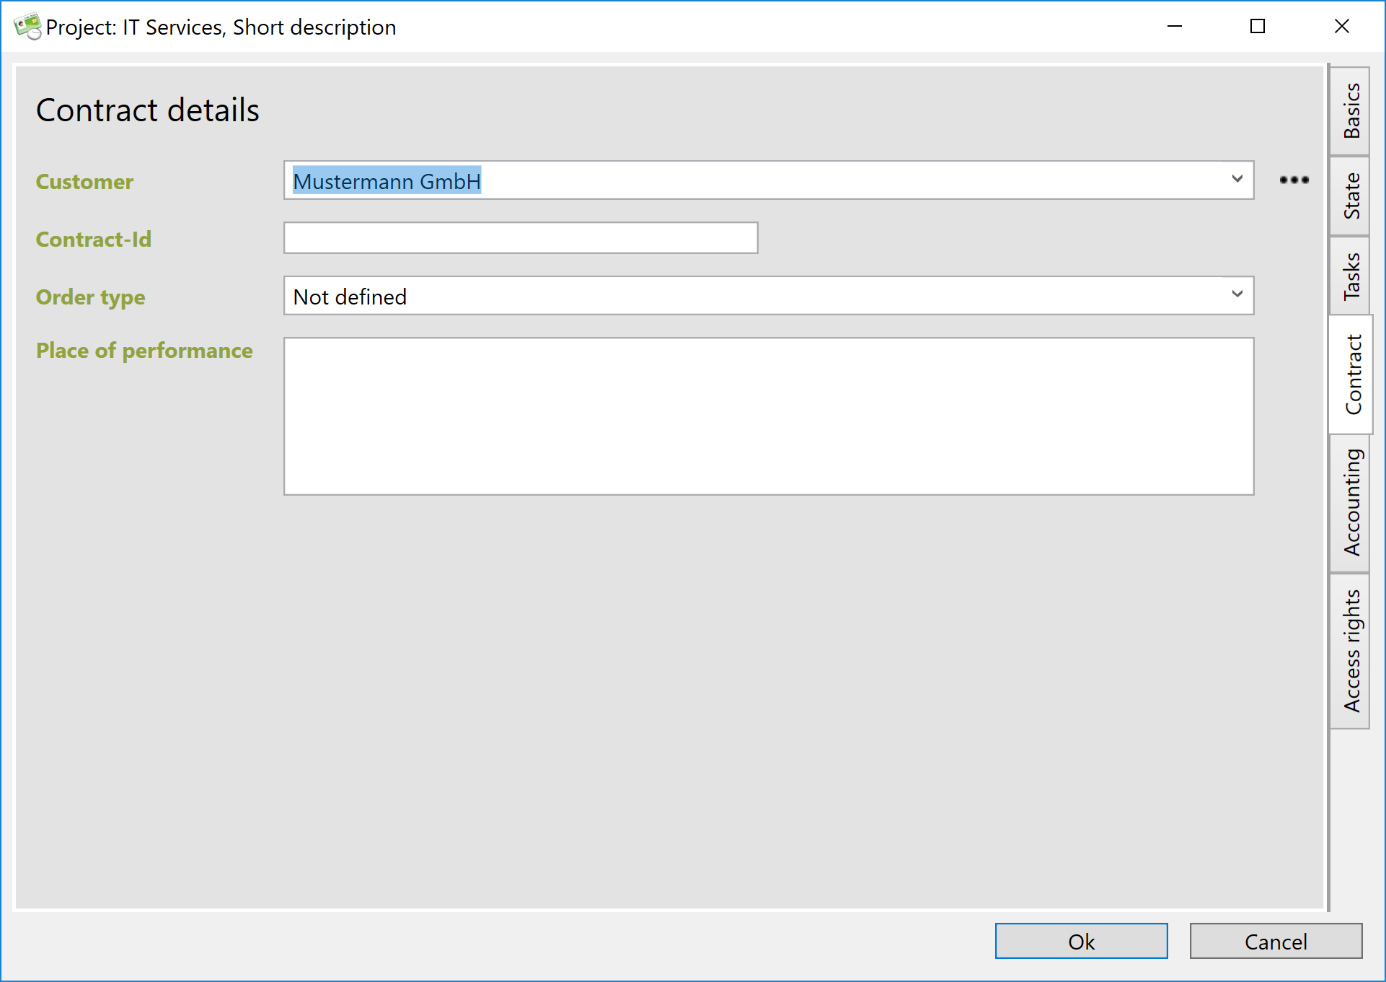
This mapping can be adjusted later. However, it serves by default for new time entries.